

Sunday, February 22, 2015
Some watercoloring fun
The other night I wanted to practice doing some watercoloring with my distress markers. So I stamped with some tea dye distress ink and then used my markers and water to color image.
I always try to color dogs in images like my dog Bandit. He's an Australian shepard so it's not easy sometimes, After I colored the image, I added some white dots to her hat with my Signo gel pen and some Wink of Stella to the bow, and it made the red bleed a little so I will have to be more careful next time... The stamp set is by Penny Black called Mimi in Paris.

Monday, February 16, 2015
A SSS January Card Kit
Hi All! Sorry it's been awhile since I have posted anything....
Today I want to share a card I made with the January Simon Says Stamp card kit.
 First I embossed some sparkly snowflakes on the background, then I added some patterned paper to the side. Then I embossed the sentiment on some vellum and attached the snowflake and crystal to center.
 Here's a close-up...
Enjoy and happy paper crafting!!!
Today I want to share a card I made with the January Simon Says Stamp card kit.
Enjoy and happy paper crafting!!!
Saturday, January 24, 2015
Dream Big
For this page I used a combination of ideas. I used my scrapbook Studio Calico kit for this month and I also bought the project life digital cards. I love these digital cards because you can make them to fit whatever size you need. I also was inspired (as always) by Wilna Furstenberg post entitled Don't Think Just Do.

Here you can see that I used half of the patterned paper and painted on the other half and then I used the project life cards in a square grid format. I also used the "brushes" from Wilna's store on the photo to say Dream Big. Added a few embellishments from the kit and some enamel dots, paint splatters and some washi tape. Here's a few close-ups and a picture of the final project life two page spread.


The two page spread... I'm really liking this format!

Here you can see that I used half of the patterned paper and painted on the other half and then I used the project life cards in a square grid format. I also used the "brushes" from Wilna's store on the photo to say Dream Big. Added a few embellishments from the kit and some enamel dots, paint splatters and some washi tape. Here's a few close-ups and a picture of the final project life two page spread.
The two page spread... I'm really liking this format!
Wednesday, January 21, 2015
Honeymoon Scrapbooking
This is another page inspired from Art Class 2 and the December 2014 Studio Calico scrapbook kit. I used some gelatos behind the pictures and then cut out some of the houses from The Old Town paper paper and placed it on the bottom. Then I put some embellishments that match the gelatos on the top!


Sunday, January 18, 2015
Simon says Stamp card kit inspired layout
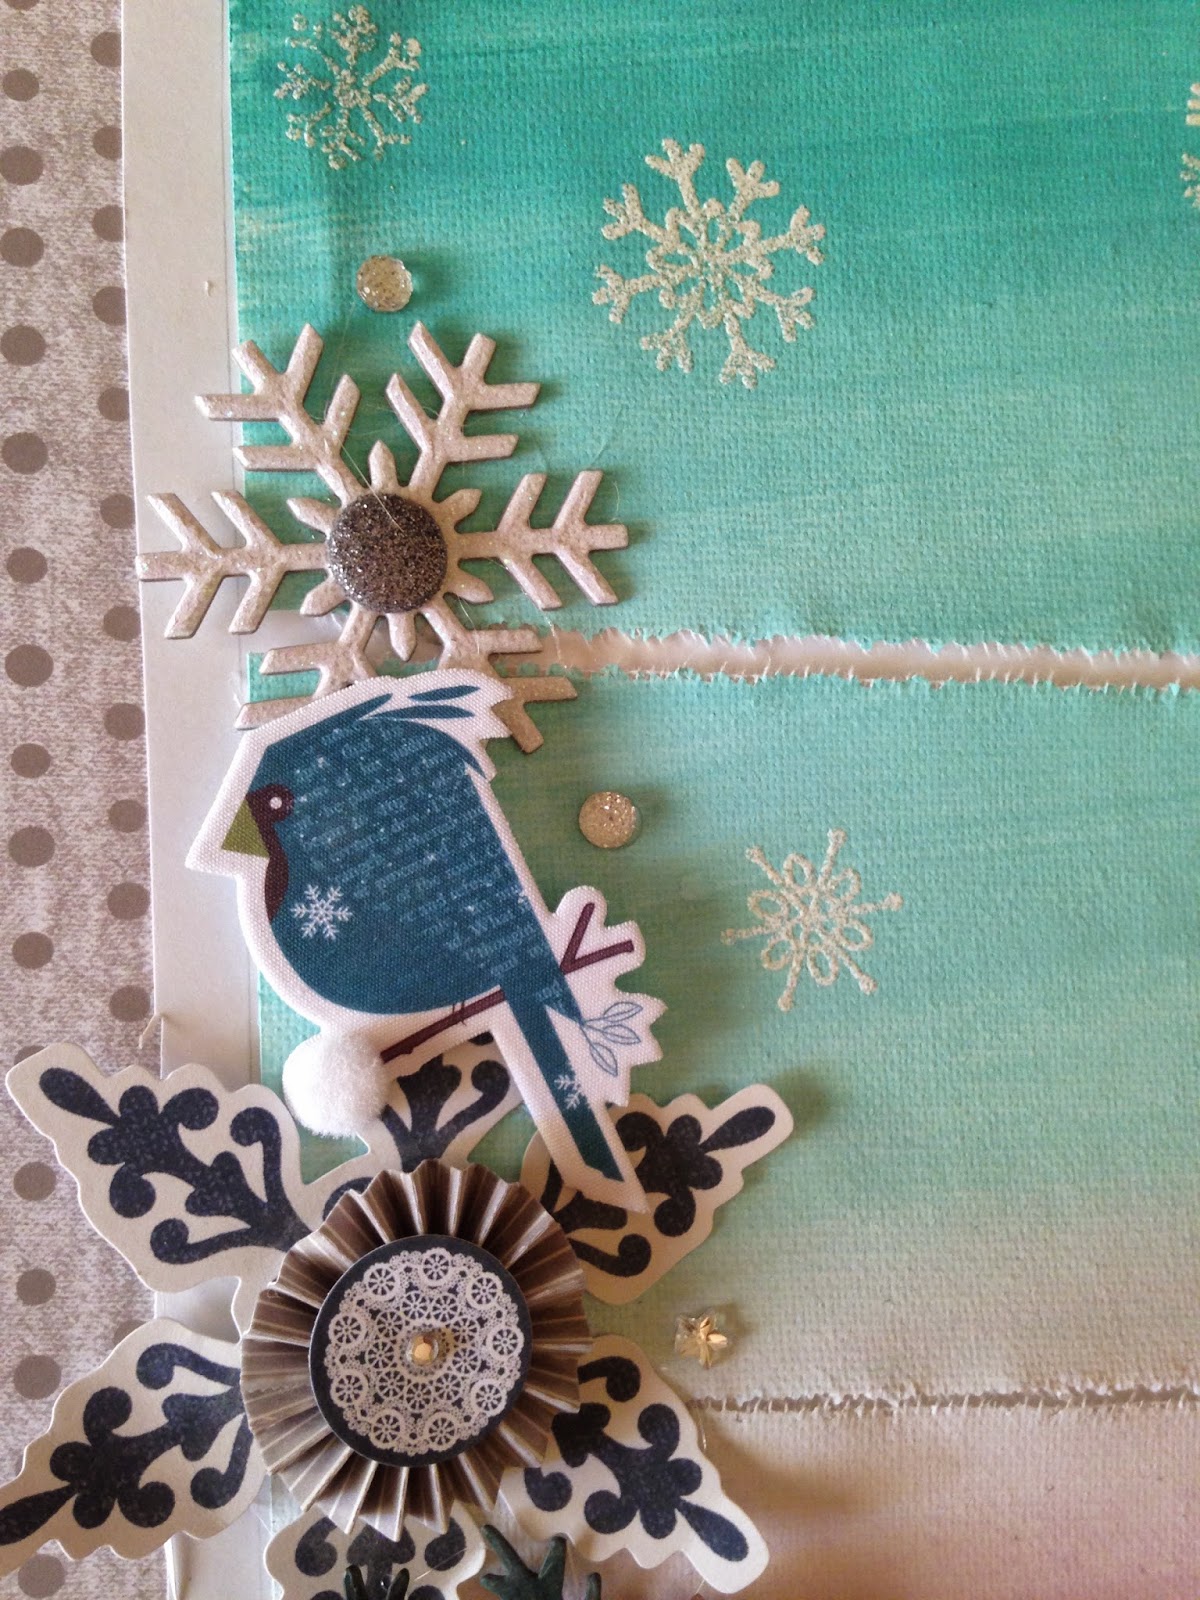
From the January 2015 Simon Says Stamp card kit came some inspiration! I love the colors in this kit! I used the ombre colors from one of the Bo Bunny papers to make this layout. I used the same painted canvas technique as before but I only tore the canvas into 4 pieces this time. Then I created a embellishment strip on the side from some stickers and rosettes that I had made previously. I'm waiting for a nice picture of us in the snow to put on the layout!



Thursday, January 15, 2015
Using some Gesso
From Art Class 2 comes this layout using gesso over some gelato and then stamping in the gesso.


The leaf frame and leaf cutout are from iheartstudio. Wilna has beautiful things in her shop, you should check it out!
The two page layout...

The two page layout...
Saturday, January 10, 2015
A wedding layout

I also used last months Studio Calico scrapbook kit to make the flowered embellishments. I cut up a cratepaper flowered paper and then I layered some of the flowers and added some glitter. They came out so pretty I think! It gets kind of addictive making them so you will see that I made another page with them.


I am starting a new scrapbook and on one page I have a 12 X 12 layout and then on the other page I use a Project Life pocket page to add more journaling and more pictures that correspond. This has worked very well for me...

Here you can see an example of the two page layout! I use items that I already have along with my Studio Calico scrapbook kit and my Simon Says Stamp kits!
Subscribe to:
Posts (Atom)